
Most home buyers start their search online, and listing photos decide which homes they click on. That’s why real estate agents pay for professional photography, and why a reliable photographer who delivers sharp, bright photos by the next morning can build a busy business quickly, often with the same agents booking every listing.
Real estate photography rewards consistency more than artistic flair: clean, well-lit, straight photos, delivered fast, every time. Add drone photos, video tours and floor plans, and you can raise the value of every shoot.
Real estate photography at a glance
Table of Contents
| Main clients | Real estate agents, brokerages, builders, short-term rental hosts |
| Core service | Interior and exterior listing photos |
| Add-ons | Drone photos and video, video tours, twilight photos, floor plans, virtual staging |
| Licensing | Business license; FAA Part 107 certificate to fly drones commercially |
| Startup costs | Moderate: camera, wide lens, tripod, lighting, editing software, optional drone |
Equipment you need
- A camera with good low-light performance and manual control.
- A wide-angle lens, essential for showing rooms properly without extreme distortion.
- A sturdy tripod for sharp, straight, consistent shots.
- Lighting: a flash or two for balanced interiors, or a bracketing workflow (several exposures blended in editing).
- Editing software for color correction, straightening and window views.
- Optional drone for aerial photos and video.
- Backup gear: spare batteries, memory cards and a second camera body when you can.
Start with solid basics and upgrade as work grows. Use our startup cost calculator to list everything.
Drone photos: get your Part 107 certificate
Aerial photos are popular for larger lots, rural properties, waterfront homes and neighborhoods with amenities. To fly a drone commercially, including real estate photos you’re paid for, the FAA requires a Part 107 Remote Pilot Certificate. You pass an aeronautical knowledge test (the test fee is about $175), and you must stay current every 24 months.
Also learn local airspace rules, get authorization near airports when required, and carry drone liability insurance; many clients ask for proof.
Services and packages
| Package | What’s included |
|---|---|
| Essentials | 20 to 30 edited interior and exterior photos |
| Standard | Photos plus drone photos |
| Premium | Photos, drone, a short video tour and a floor plan |
| Add-ons | Twilight photos, virtual staging, extra drone video, rush delivery |
Packages make booking easy for agents and raise your average sale.
Pricing your work
Prices vary by market, home size and package. Standalone drone shoots for listings commonly cost about $150 to $500 nationally, depending on deliverables; drone add-ons bundled with a photo shoot are usually priced lower. Research local photographers, price by home size (square footage tiers), and charge travel fees for distant properties. Make sure your prices cover your time (shooting, driving and editing), equipment wear and insurance; our pricing calculator helps.
A worked example: a busy month
These figures are illustrative.
| Revenue | Amount |
|---|---|
| 32 listing photo shoots × $225 | $7,200 |
| 14 drone add-ons × $125 | $1,750 |
| 6 video tours × $275 | $1,650 |
| Total revenue | $10,600 |
| Costs | Amount |
|---|---|
| Outsourced photo editing (32 × $12) | $384 |
| Vehicle and mileage | $500 |
| Insurance (liability and drone) | $150 |
| Software, website and booking | $120 |
| Gear replacement fund | $400 |
| Total costs | $1,554 |
Profit before owner’s pay and taxes: $9,046. That’s essentially your pay for shooting and running the business, so track your hours to know your real hourly earnings.
Your shoot-day workflow
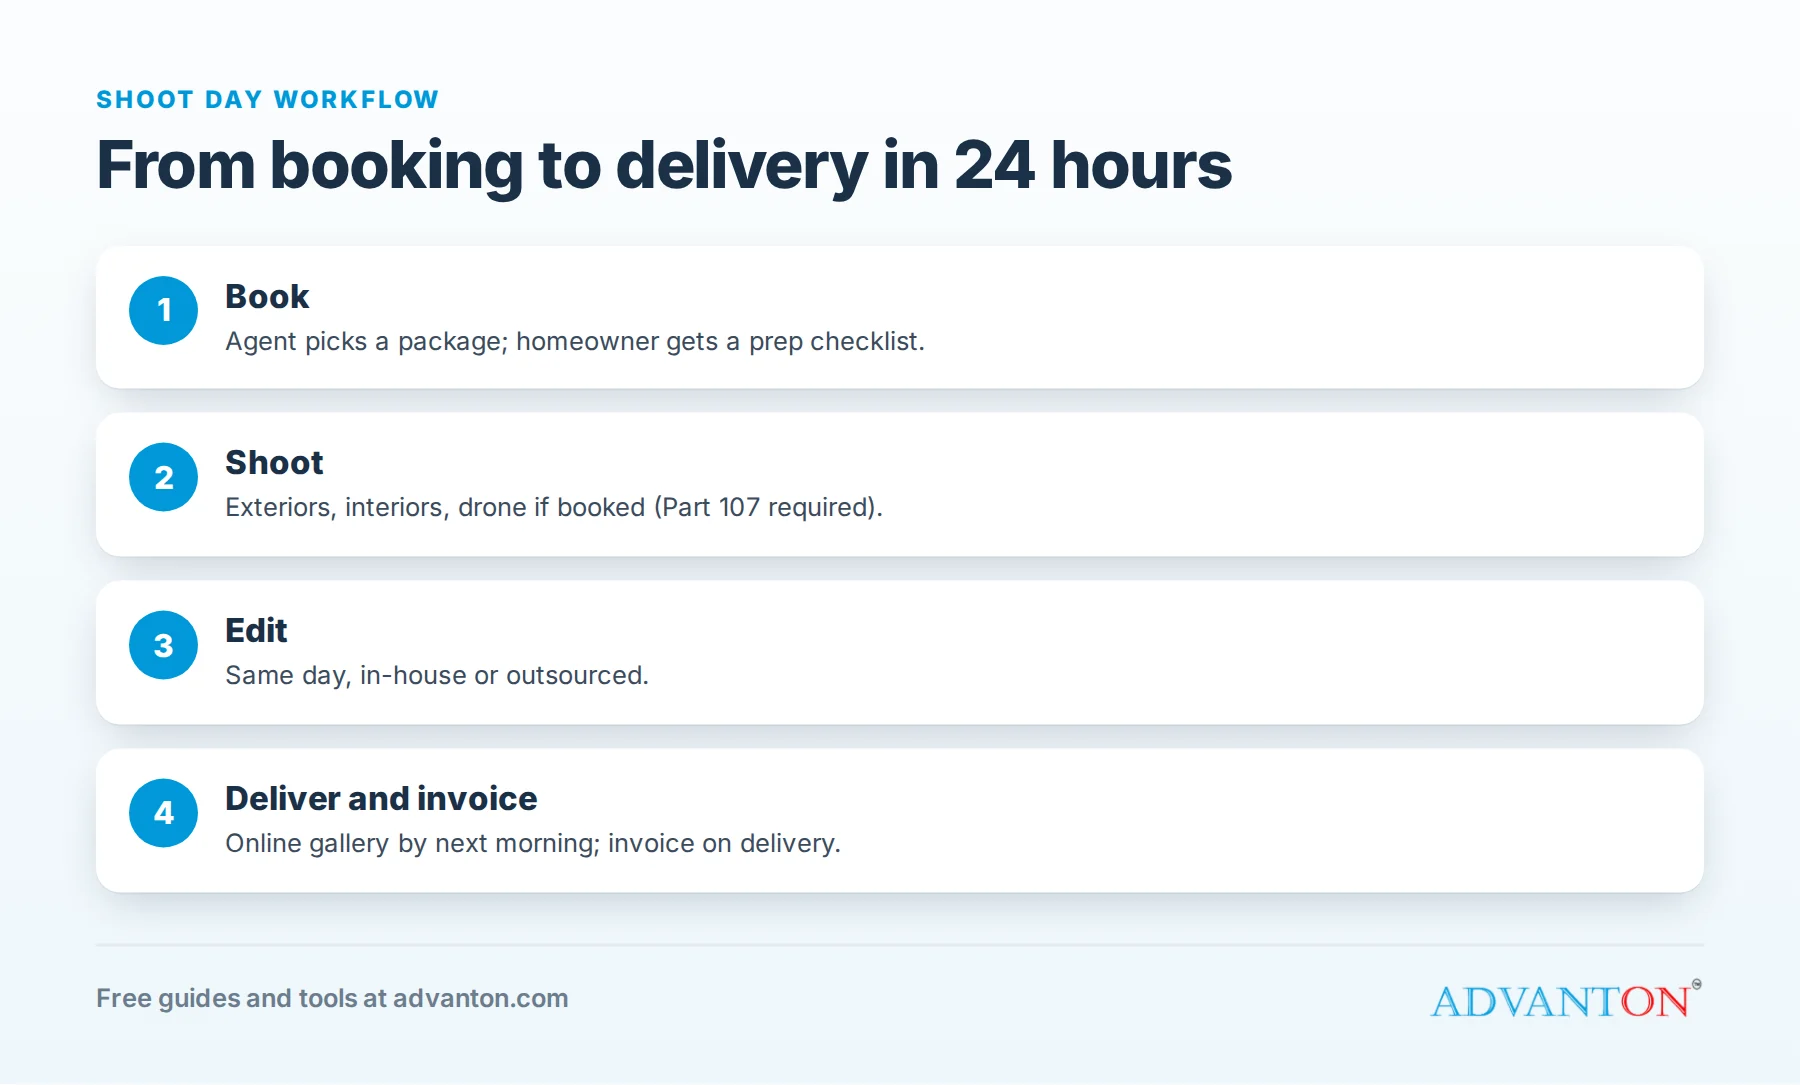
- Booking: agents book online and choose a package; send a prep checklist to the homeowner.
- Arrive on time, walk the home, and plan the shot list.
- Shoot exteriors and interiors, keeping verticals straight and lights on.
- Fly the drone if booked, following airspace rules.
- Edit or send to an editor the same day.
- Deliver by the next morning through an online gallery with web and print sizes.
- Invoice on delivery, with online payment. Our quote and invoice generator works well.
A standard shot list
| Area | Typical shots |
|---|---|
| Exterior | Front from two angles, back of home, yard, street view |
| Living spaces | Each main room from its best corner, plus one detail if notable |
| Kitchen | Wide shot, island or dining area, one feature shot |
| Bedrooms | Primary bedroom from two angles; other bedrooms one each |
| Bathrooms | One straight-on shot each, two for the primary bathroom |
| Extras | Office, laundry, garage, deck, pool, views, amenities |
A consistent shot list keeps shoots fast and makes your galleries look professional every time.
A homeowner prep checklist
Send this when a shoot is booked:
- Turn on all lights and open blinds.
- Clear counters, fridge fronts and bathroom surfaces.
- Hide trash cans, pet bowls, toys and personal items.
- Make beds and straighten towels.
- Move cars out of the driveway.
- Turn off ceiling fans and TVs.
Better-prepared homes make better photos, and happier agents.
Editing: in-house or outsourced?
Editing takes time. Many photographers outsource to editing services, paying a small fee per photo set, so they can shoot more homes. Others keep editing in-house for quality control. A common path: edit yourself at first to learn your style, then outsource with clear instructions as volume grows.
Twilight photos and video tours
Twilight photos, taken just after sunset with every light on, make listings stand out and command a premium. Video tours (short walkthroughs with smooth movement) are popular for higher-priced homes and social media. Both take more time, so price them as add-ons, and schedule twilight shoots around sunset times.
Photo licensing: who can use the photos?
Typically, the photographer keeps copyright and grants the agent a license to use the photos to market that listing. Put your licensing terms in writing: who can use the photos, for how long, and whether other agents, builders or future owners can use them. Clear terms avoid disputes when a listing changes agents.
Short-term rental hosts
Vacation rental hosts need bright, appealing photos too, and they update them more often than home sellers. Offer a host package that includes amenity details and lifestyle shots, and you’ll add year-round work outside the real estate market’s busy seasons.
Insurance
Plan for general liability (in case you damage something in a home), equipment coverage for your gear, and drone liability if you fly. Some agents and brokerages require proof of insurance. See how to get business insurance.
Winning real estate agents
- Build a portfolio: shoot a few homes at a discount or for friends who are selling, showing a range of property types.
- Visit brokerage offices and meetings to introduce yourself.
- Make booking effortless: online scheduling, clear packages and next-morning delivery.
- Be reliable: agents remember the photographer who’s always on time.
- Offer a loyalty or volume discount for agents who book regularly.
- Ask for referrals among agents’ colleagues.
- Show your work on a website with a portfolio; our website builder is free.
Back up every shoot
Losing a shoot means a reshoot and an unhappy agent. Copy files from memory cards to your computer the same day, keep a second copy in cloud storage or an external drive, and don’t reformat cards until both copies exist. Keep delivered galleries available for at least a few months, since agents often ask for photos again.
Growing with a second photographer
When you’re turning work away, train a second photographer on your exact shot list, editing style and homeowner checklist, so every gallery looks the same. Many businesses pay per shoot, then add an editor or scheduler as volume grows. Check the true cost of hiring with our hiring cost calculator.
Common mistakes to avoid
- Crooked verticals and dark rooms, the most common amateur errors.
- Slow delivery. Agents want listings live fast.
- Flying a drone commercially without Part 107.
- Underpricing and burning out on driving and editing time.
- No backup system for files.
Your first 90 days
- Days 1 to 30: buy core gear, register your business, get insured, and start studying for Part 107 if you’ll fly.
- Days 31 to 60: build a portfolio, set your packages and prices, and launch a website with online booking.
- Days 61 to 90: visit brokerages, shoot your first paid listings, collect testimonials, and add drone services once certified.
Frequently asked questions
Do I need a license to photograph homes?
You need a general business license where you work, and an FAA Part 107 certificate to fly a drone commercially. Photography itself doesn’t require a state license.
How fast should I deliver photos?
Next-morning delivery is a common standard, and a strong selling point.
Can I start without a drone?
Yes. Many photographers start with interiors and exteriors, then add drones after earning their Part 107 certificate.
How many homes can I shoot in a day?
Many photographers shoot three to five homes a day, depending on home size, drive time and add-ons like drone and video. Group shoots by area to cut driving time, and leave buffer time between shoots for traffic and homeowners who aren’t quite ready.
What about floor plans?
Floor plans are a popular add-on, especially for larger homes. Some photographers create them with a measuring app or scanner; others outsource drafting.
Keep learning
Sources
- Drone Launch Academy, Drone real estate photography (2026 pricing)
- Rotate Pilot, How to become a drone pilot for real estate (Part 107 fee)
- ProShoot, Drone photography rules and costs (2026)
Last reviewed October 28, 2026. Startup costs are estimates; check local prices, licensing and tax rules before you commit money.


Leave a Reply